This guide demonstrates how to add or edit a WordPress blog post. If you have questions about website maintenance, feel free to email Meredith Fennema, web design lead, at meredith@simplersite.co.
Note: Included below are instructions for what you’ll likely need most often while adding blog posts. Full documentation for the default WordPress blog post editor can be found here if you want more advanced editing/instructions
Step 1: Log in to your website to “Add New Post”
Start by logging into your website. For more, please see instructions in “How to Log In to WordPress Website” article.
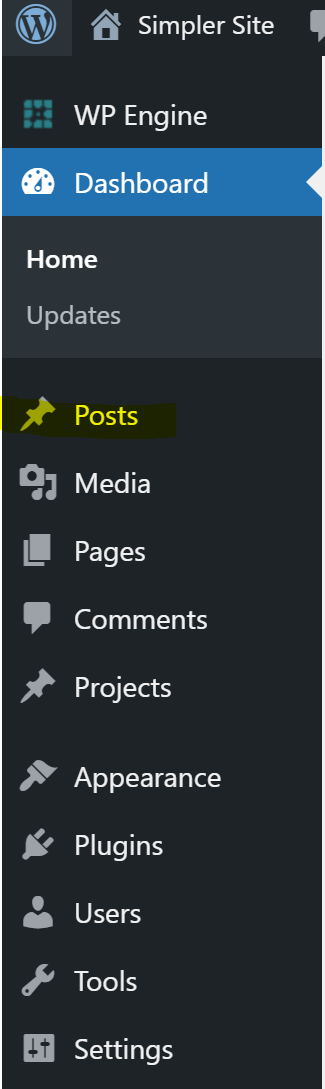
After you log in to your website with your WordPress username and password, you’ll be brought to the Dashboard of your website. On the left side of the screen you’ll see a toolbar. Hover over “Posts” in the left side toolbar and press “Add New”.
Step 2: Add post content
This page is where you will put all the content that goes into your post.
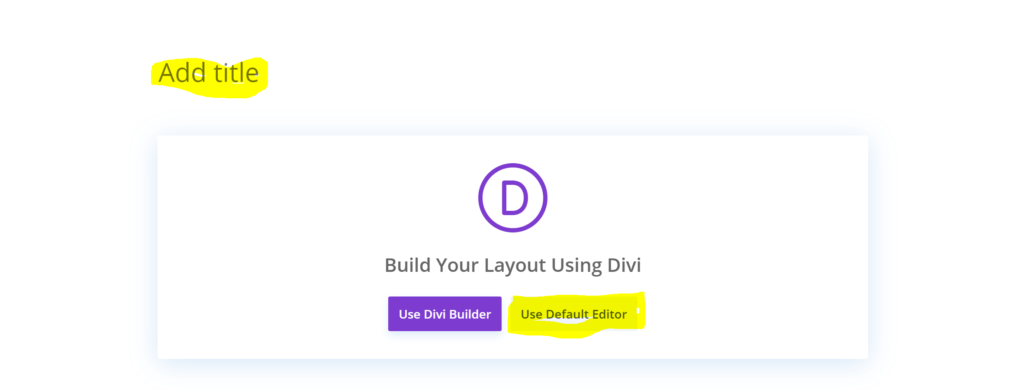
At the top of the page start by entering your Post Title. Then, press “Use Default Editor”.
Now it’s time to add your blog post content. We recommend you write your blog post in Microsoft Word, Google Docs, etc. This will ensure that you don’t somehow accidentally lose your writing if something goes wrong while you’re adding your blog post.
Copy and paste all text content into the post body by pressing on the “Start writing or type/choose a block” and pasting.
Tip: content will pull in formatting used in your Google doc / Word doc. For example, if you select H2 formatting in Google docs, it will also bring it into the post as H2 content. It is recommended that you format your original document with all headers, hyperlinks, bullets, and numbered lists desired.

Step 3: Check all text formatting
Next up you should double check all text formatting.
Delete any extra space by clicking to spot and hitting backspace, just like you would in any other text editor.
Add any missed headers if necessary by clicking on line of text that needs to become a header, pressing the P paragraph button, press the Heading button, change heading level if necessary.
You can also add italics or bolds if necessary by highlighting appropriate text and using Ctrl + I or Ctrl + B buttons.
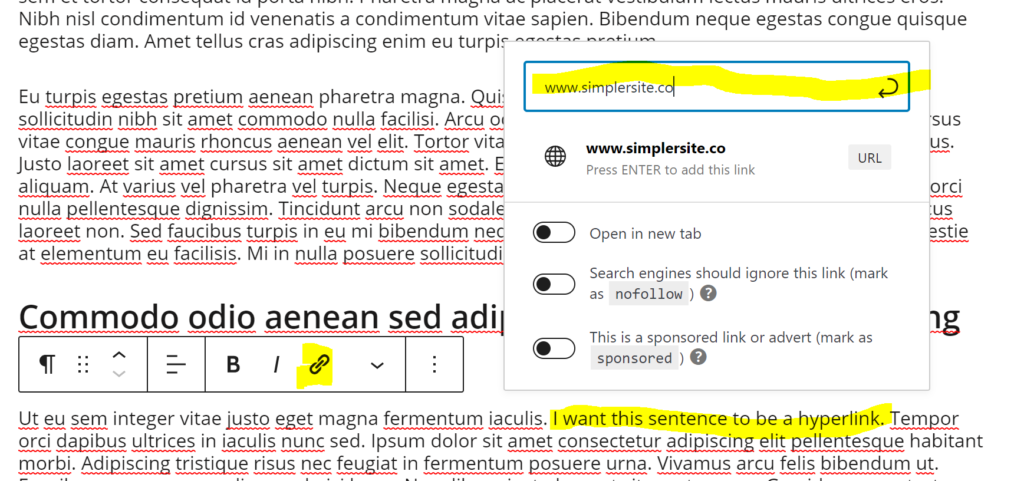
Add hyperlinks by highlighting the words you’d like the hyperlink and pressing the hyperlink button, indicated in the screenshot below. Type in the URL you’d like to link to and press “Enter”.
Note: if you added hyperlinks in your original Google / Word document, they’ll automatically be added in WordPress. This is an easier process!
Step 4: Add images & videos to your post
To add images:
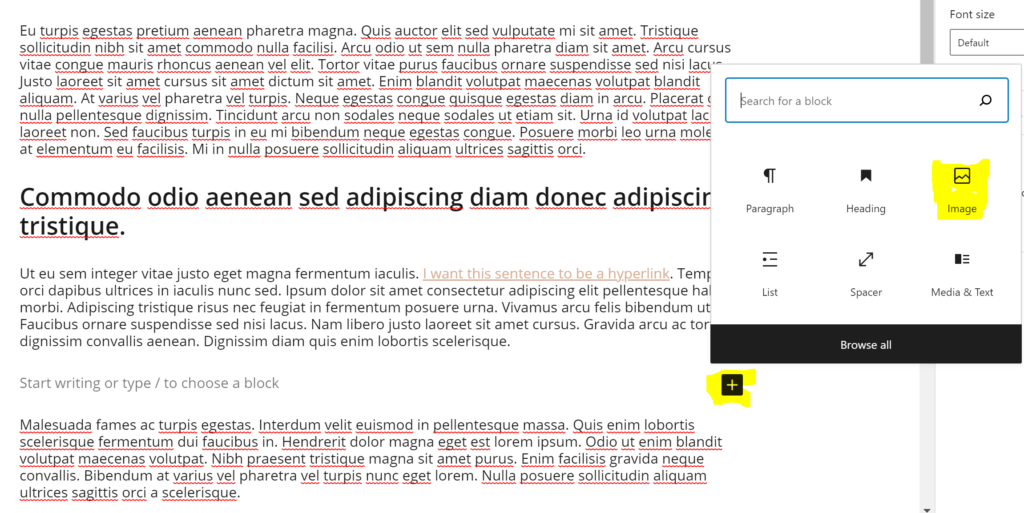
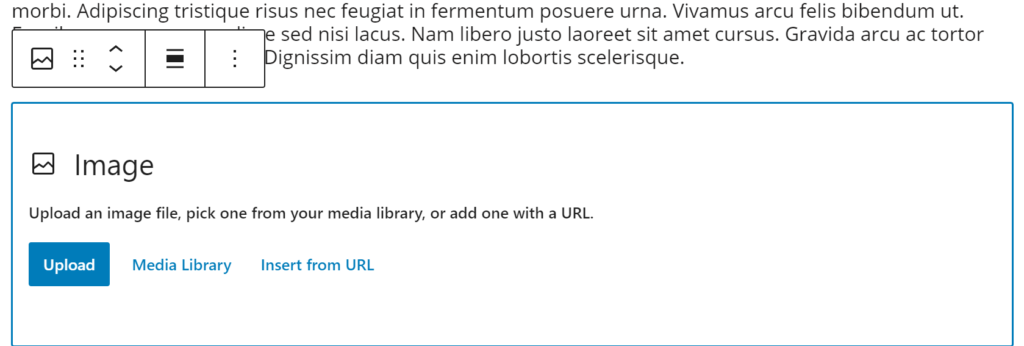
Start by adding an Image block. Navigate to place in blog you want to add image then press Enter (this gives you space for a new block). Press the “+” button that appears in the right hand side of page. Add the “Image” block.
Select “Upload” if you are uploading a new photo, then select the image you want to upload and press “Open”. If the image is already on your website choose “Media Library” and navigate to the image.
Ensure correct image formatting. Click on the “Align” button and align as appropriate. Typically the “Medium” image size will work best.
To add videos:
- Add embed blocks for YouTube/Vimeo videos if you have a video you want embedded in the post
- You can also just copy and paste the video URL to a paragraph block, and WordPress will automatically convert it into a video embed block.
Note: While you can use the video block to upload videos directly to your website, we recommend against that because it will slow down your website and can even crash your WordPress hosting server. Instead, we recommend uploading your videos on a service like YouTube or Vimeo, and then embed it in your WordPress posts.
Step 5: Edit Post Settings
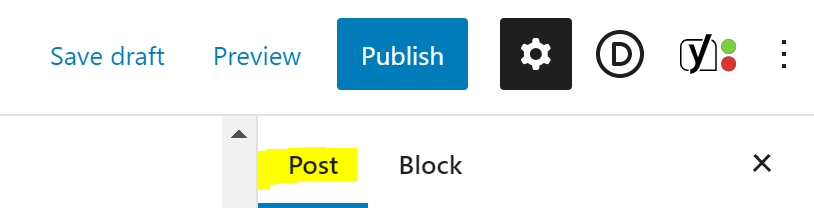
The right hand toolbar features “Post” and “Block” settings. To edit your post settings, be sure you are on the “Post” area.
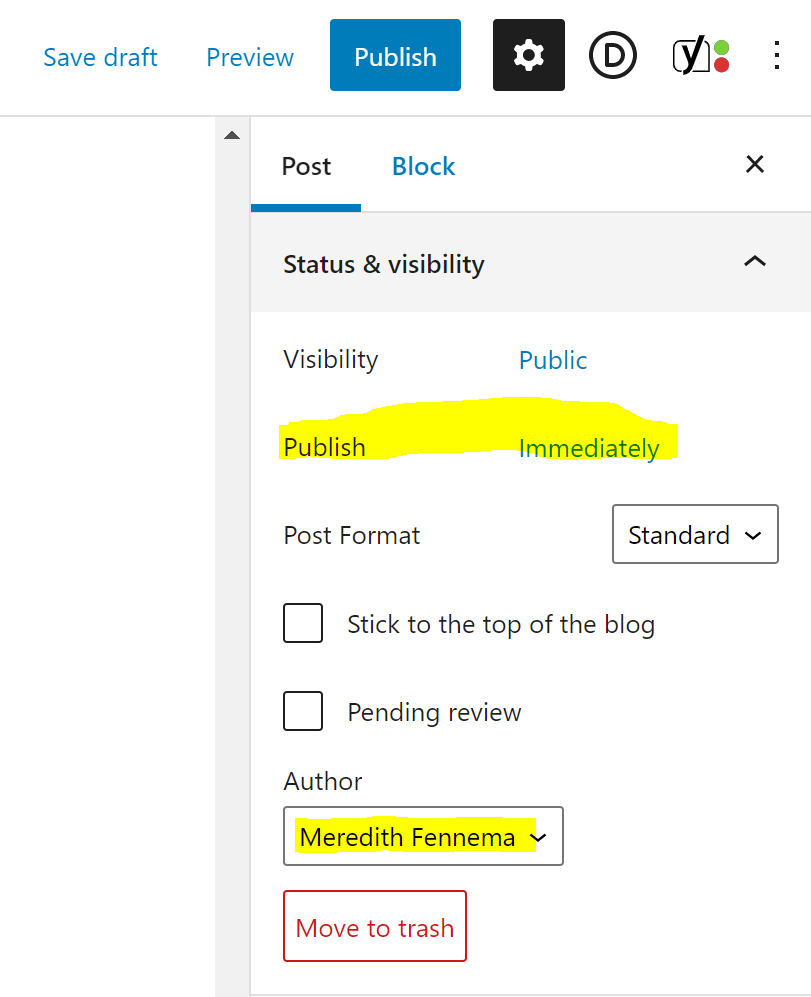
Choose when you’d like to publish the post. The default is to publish Immediately. You can also select a date and time in the future. If your site uses multiple authors, select the applicable author in the dropdown.
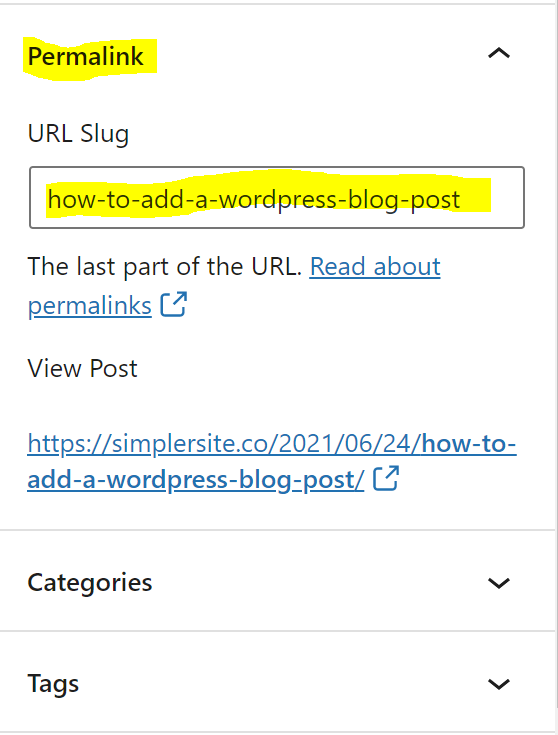
Confirm the Permalink is correct. You can type a new permalink if needed. The Permalink is the URL that will be used to visit your blog post.
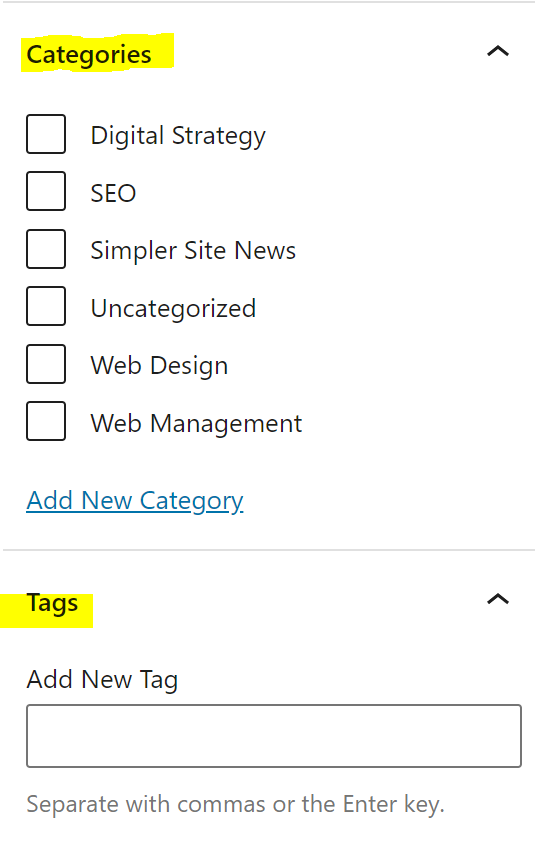
Select your categories and tags, if applicable for your website. You can add as many categories and tags as you’d like, or add new ones if necessary. Dependent on your website designs, categories and tags may be used for helping people navigate your website and on different parts of your blog landing page or filtering system.
Select a featured image. Be sure this is sized with the dimensions required for your website design. A Featured Image is the main photo of your post. It will show on social platforms when sharing, at the beginning of your post and on your blog landing page. To add a Featured Image scroll to the bottom of your post page. Click ‘Set featured image’.
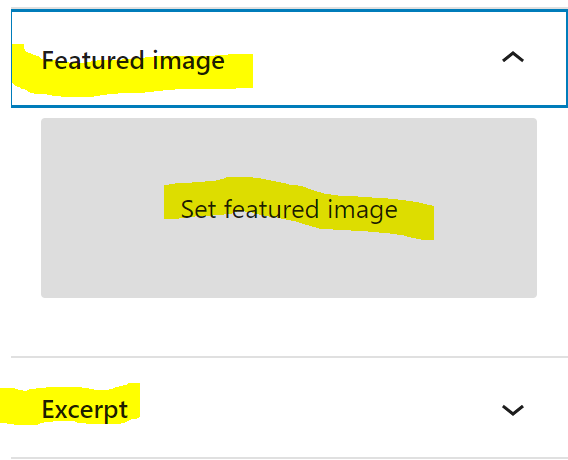
Write an excerpt. This is the summary text that will show if your website has a blog landing page. We typically recommend including a sentence or two summary your post. You can also include the first sentence or two of your post if you prefer. Note that the excerpt will be shown if you ever share your post on a social media platforms.
Step 6: Preview
Now it’s time to check the frontend to make sure everything looks good!
To preview your post, navigate to the top toolbar. We recommend previewing the desktop, tablet, and mobile formats in a new tab to make sure everything looks as expected. If you need to make edits to the post, you can revisit any of the previous items to make edits.

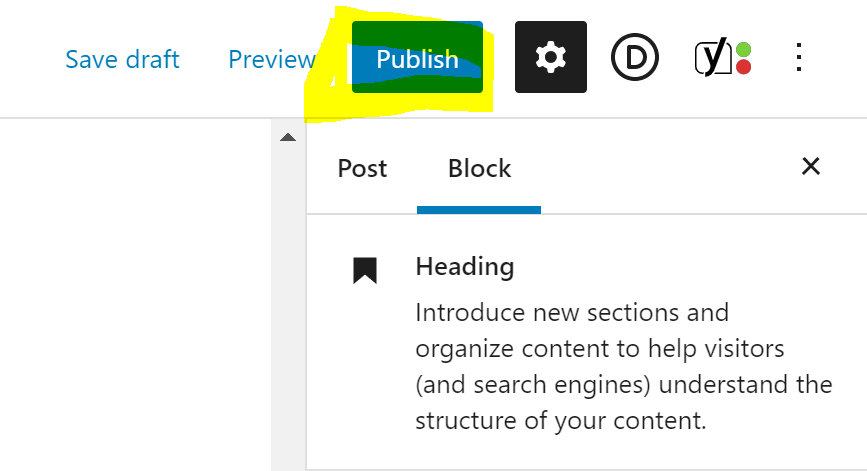
Step 7: Publish
After all your post content has been added and the preview looks good, you’re ready publish the post and make it live. Scroll to the top of the page and click the blue ‘Publish’ button. After your post is live you should also check the frontend of your website to make sure everything is showing up properly.
Need help?
Simpler Site is happy to support you as you learn to add blog posts to your WordPress website. We are also here to add blog posts on your behalf if you’d like! You can email Meredith or call her at (616) 920-9063 if you would like additional help.
